Cloudy Weather Portrait Photography Tips
As photographers, we sometimes get real lucky with the light, when everything just naturally comes together. More often though, we find ourselves in situations where we have to work with light that is far from ideal. To come prepared to these situations is key, and also can completely change the outcome. If you struggle with plain and overcast light in your photography, keep reading! In this article I will provide six helpful tips to make better portraits on overcast days, without using any additional light sources. I have used these techniques to create the photos in the gallery below. Let’s start:
Have your subjects lift their chin up.
Overcast light has the tendency to have a somewhat dirty look on the human skin. For example, dark areas under the eyes are a common problem with this kind of light. You can prevent dark bags under the eyes by having your subject lift their chin up towards the sky, allowing the light to fill in the darker areas. Not only will this make the skin look more healthy, it will also give you more prominent eye light. That little twinkle in the eye actually makes the subject look extra lively.
Choose a higher point of view.
As with tip #1, choosing a higher point of view allows the light to really fill in all the little cracks and holes that the skin has on a micro level. Overall, this makes the skin look more healthy and smooth.
Find ways to make the light more directional.
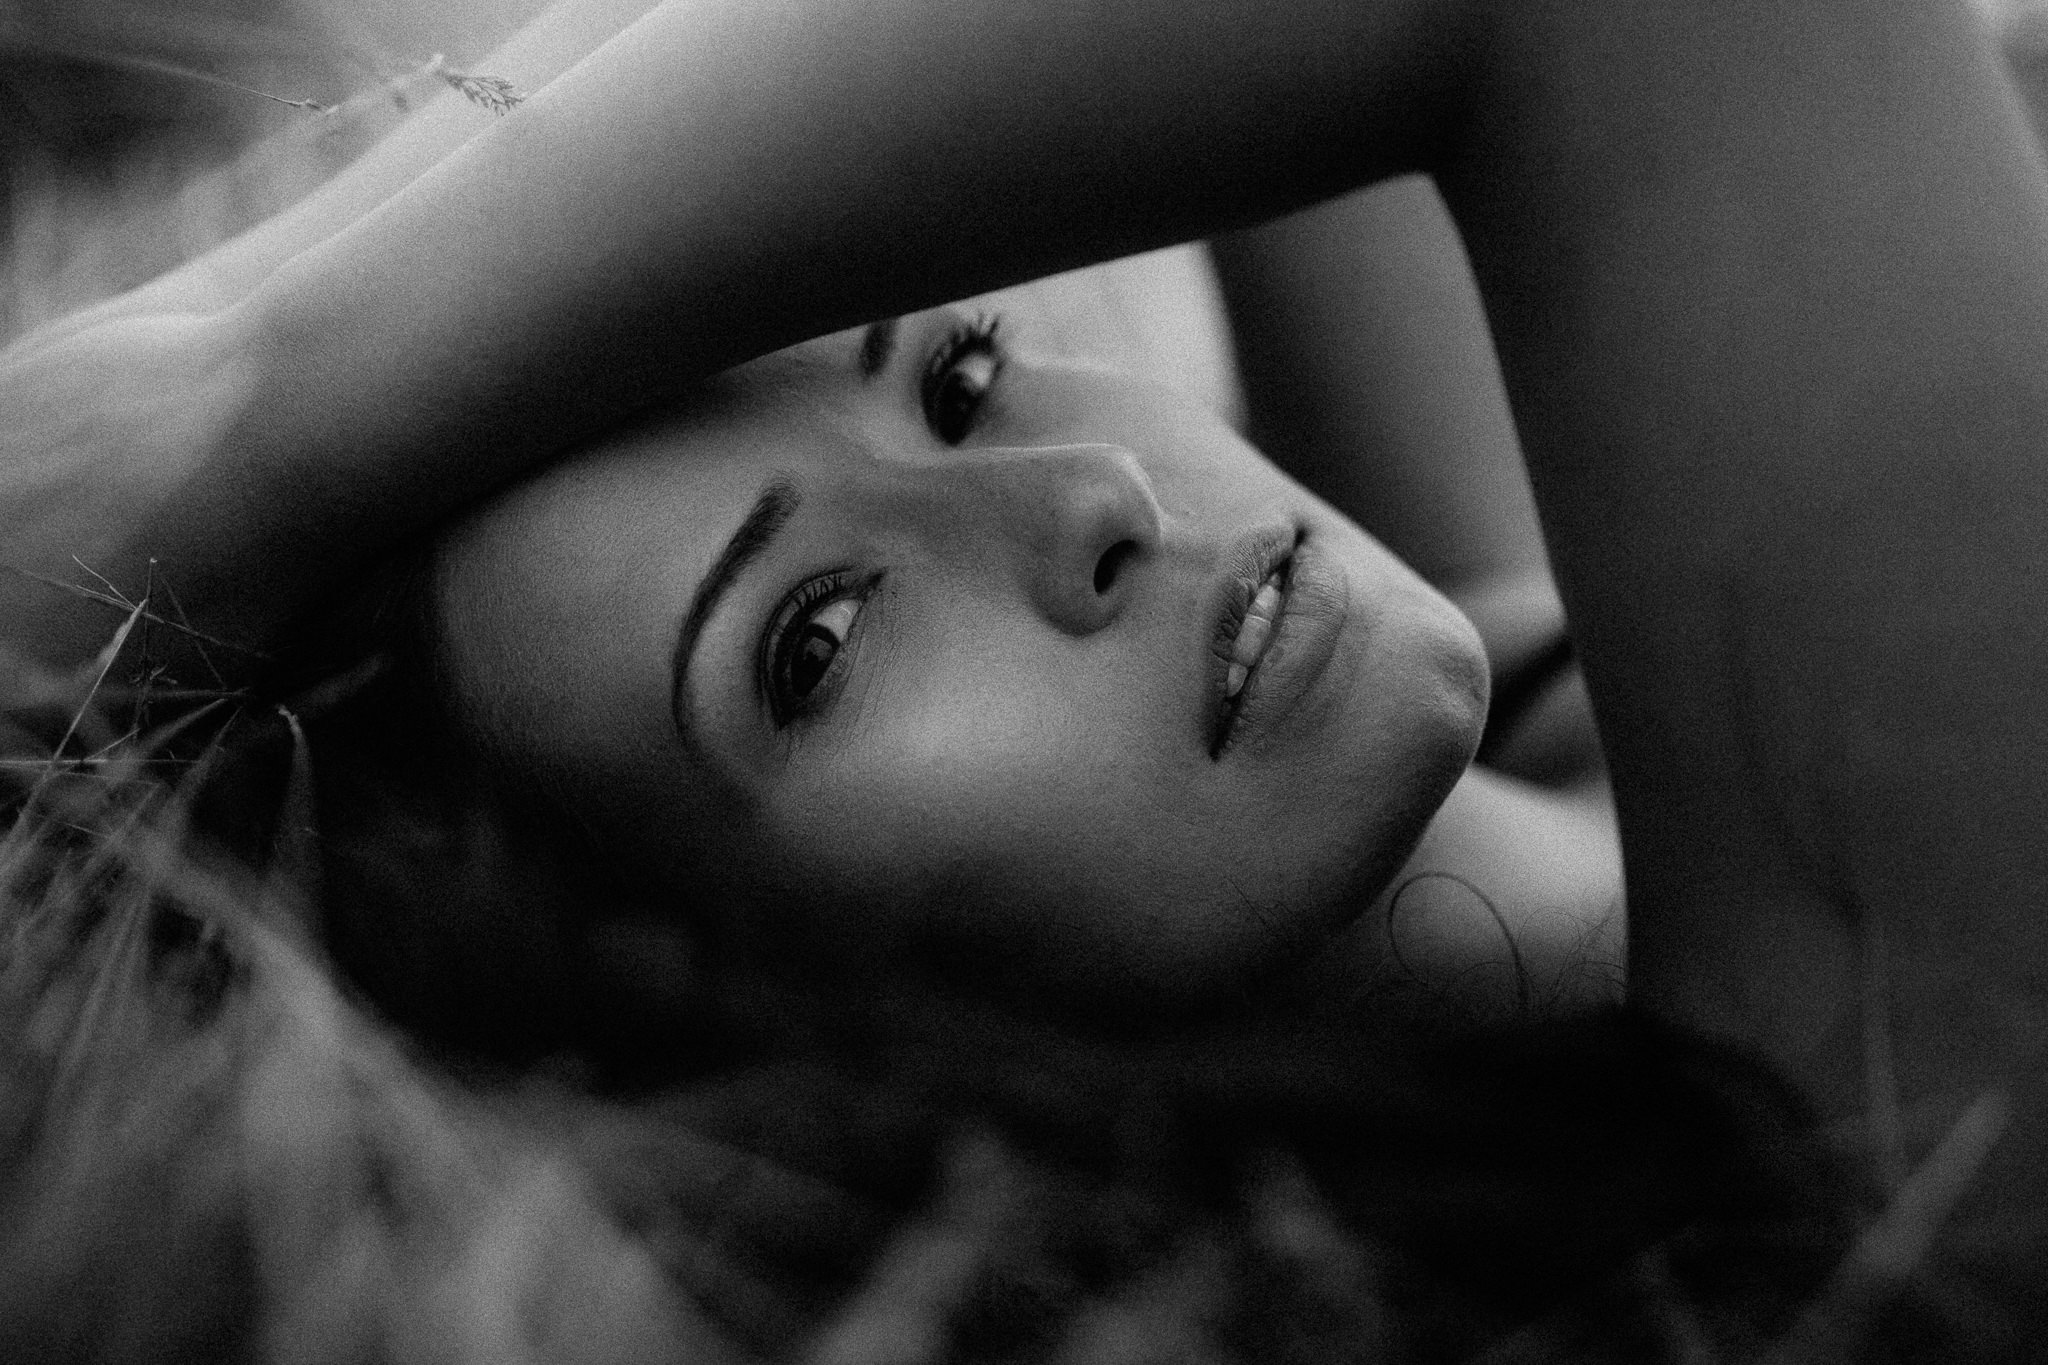
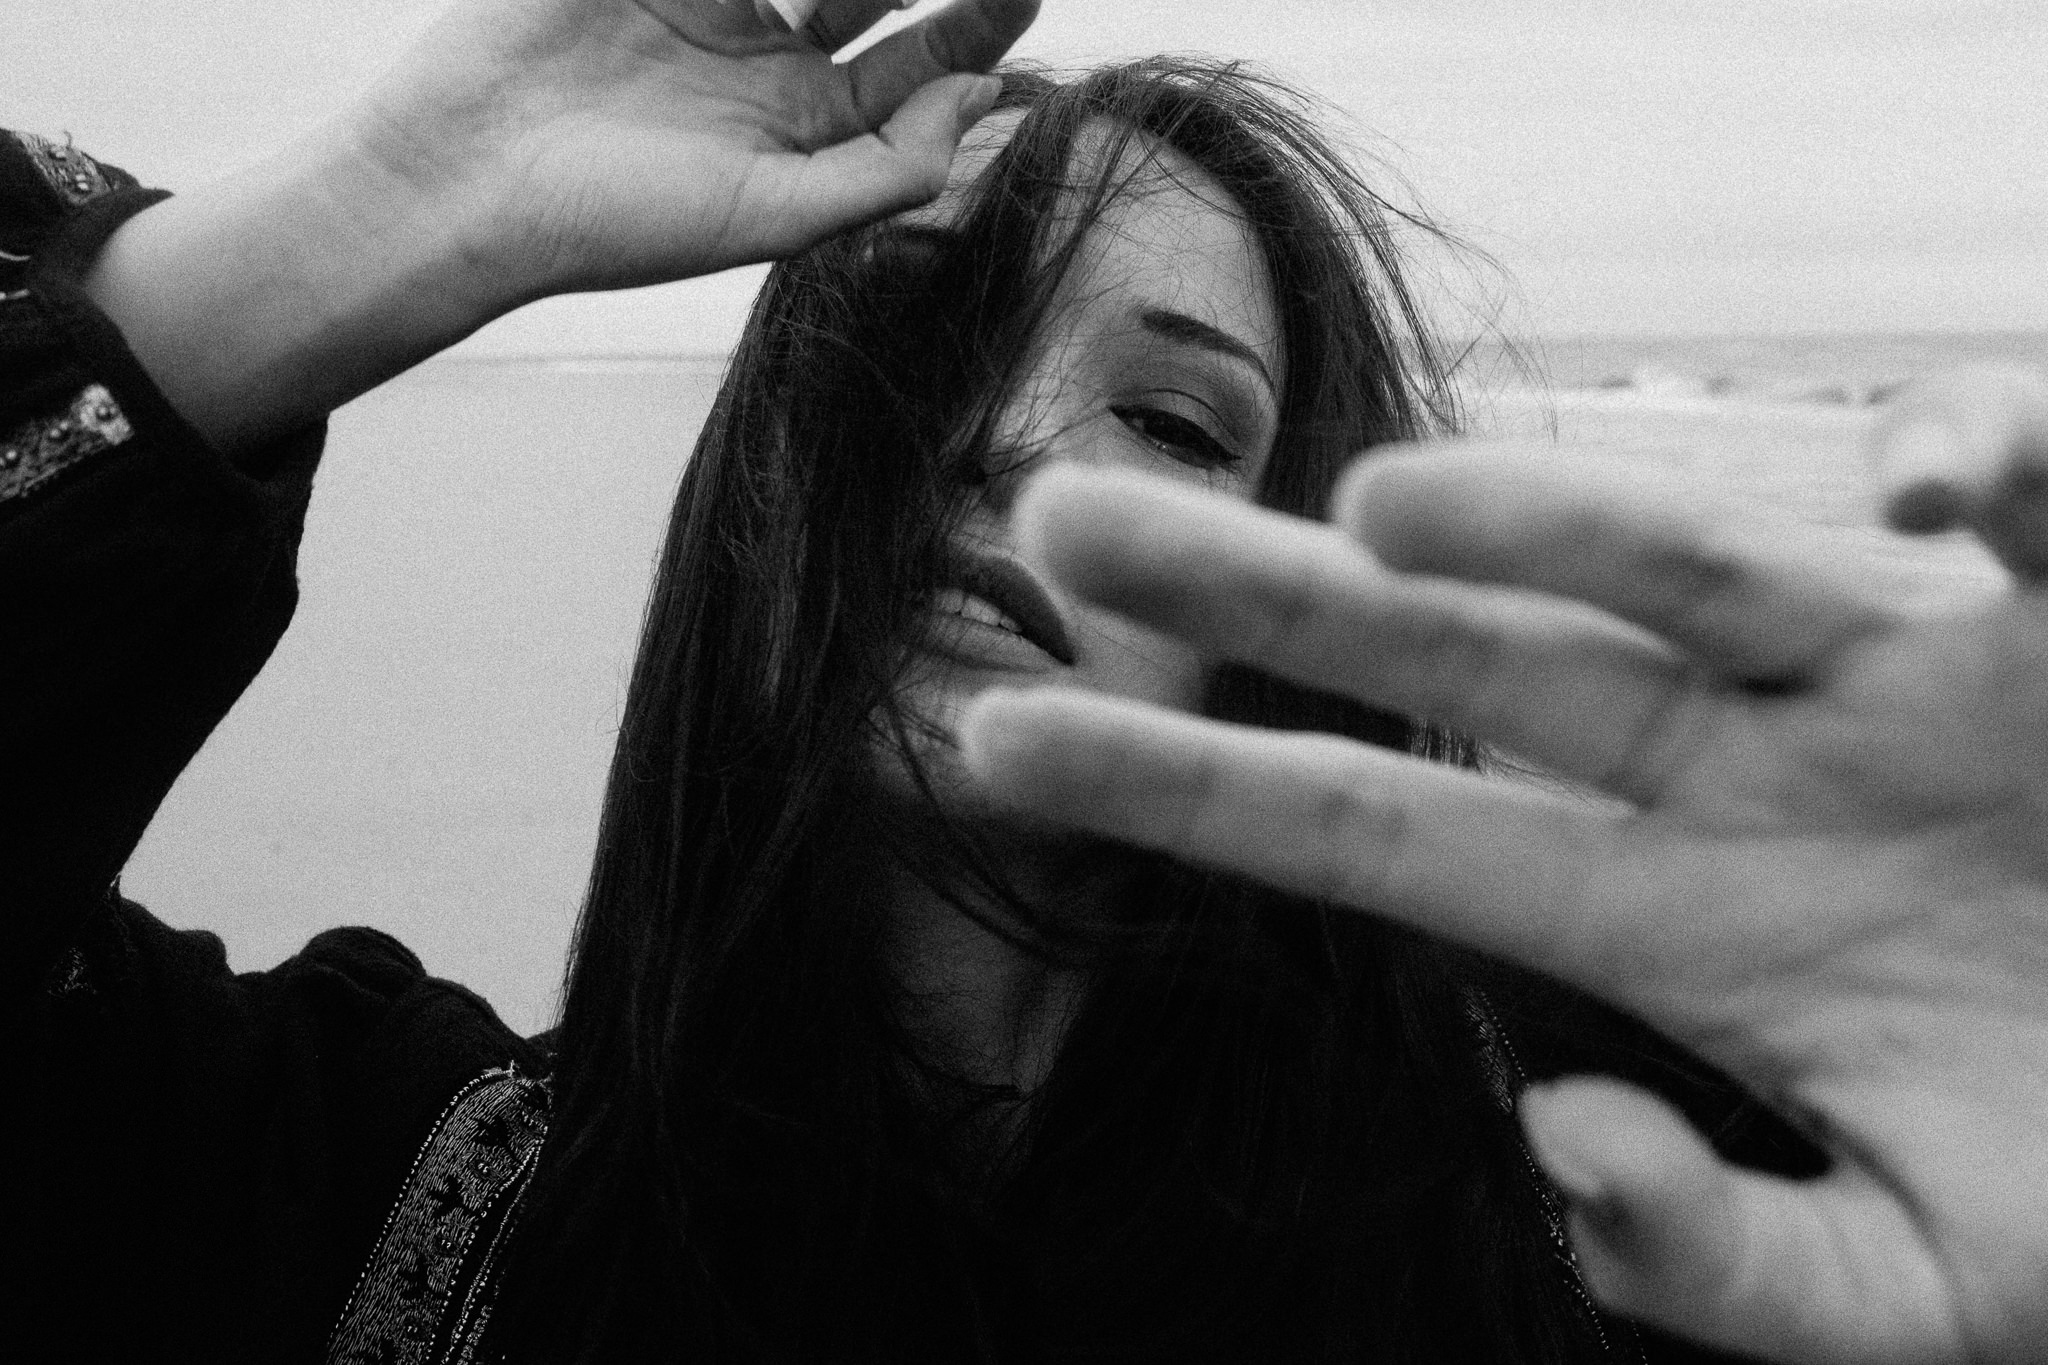
Overcast light is very diffused, very soft and lacks contrast. This is not always a bad thing, so remember what you are after and adjust your lighting accordingly. More directional light creates more contrast, which in turn, usually makes your photo more interesting and eye pleasing to look at. If you are shooting in very plain, open areas, the ways to make the light more directional are limited, but never zero. For example, in the first photo below, I have used the arms to create more contrast in the light on her face. A general rule here is that the more you can block the light, the more directional it will be, and thus richer in contrast. An example that can be applied to shooting in the city: have your subject stand next to a big object or wall. This object or wall will both block and absorb the light, making the side of the face that is closest to the object darker than the opposite side. Note that the color of the object or wall will have an impact on the final result.
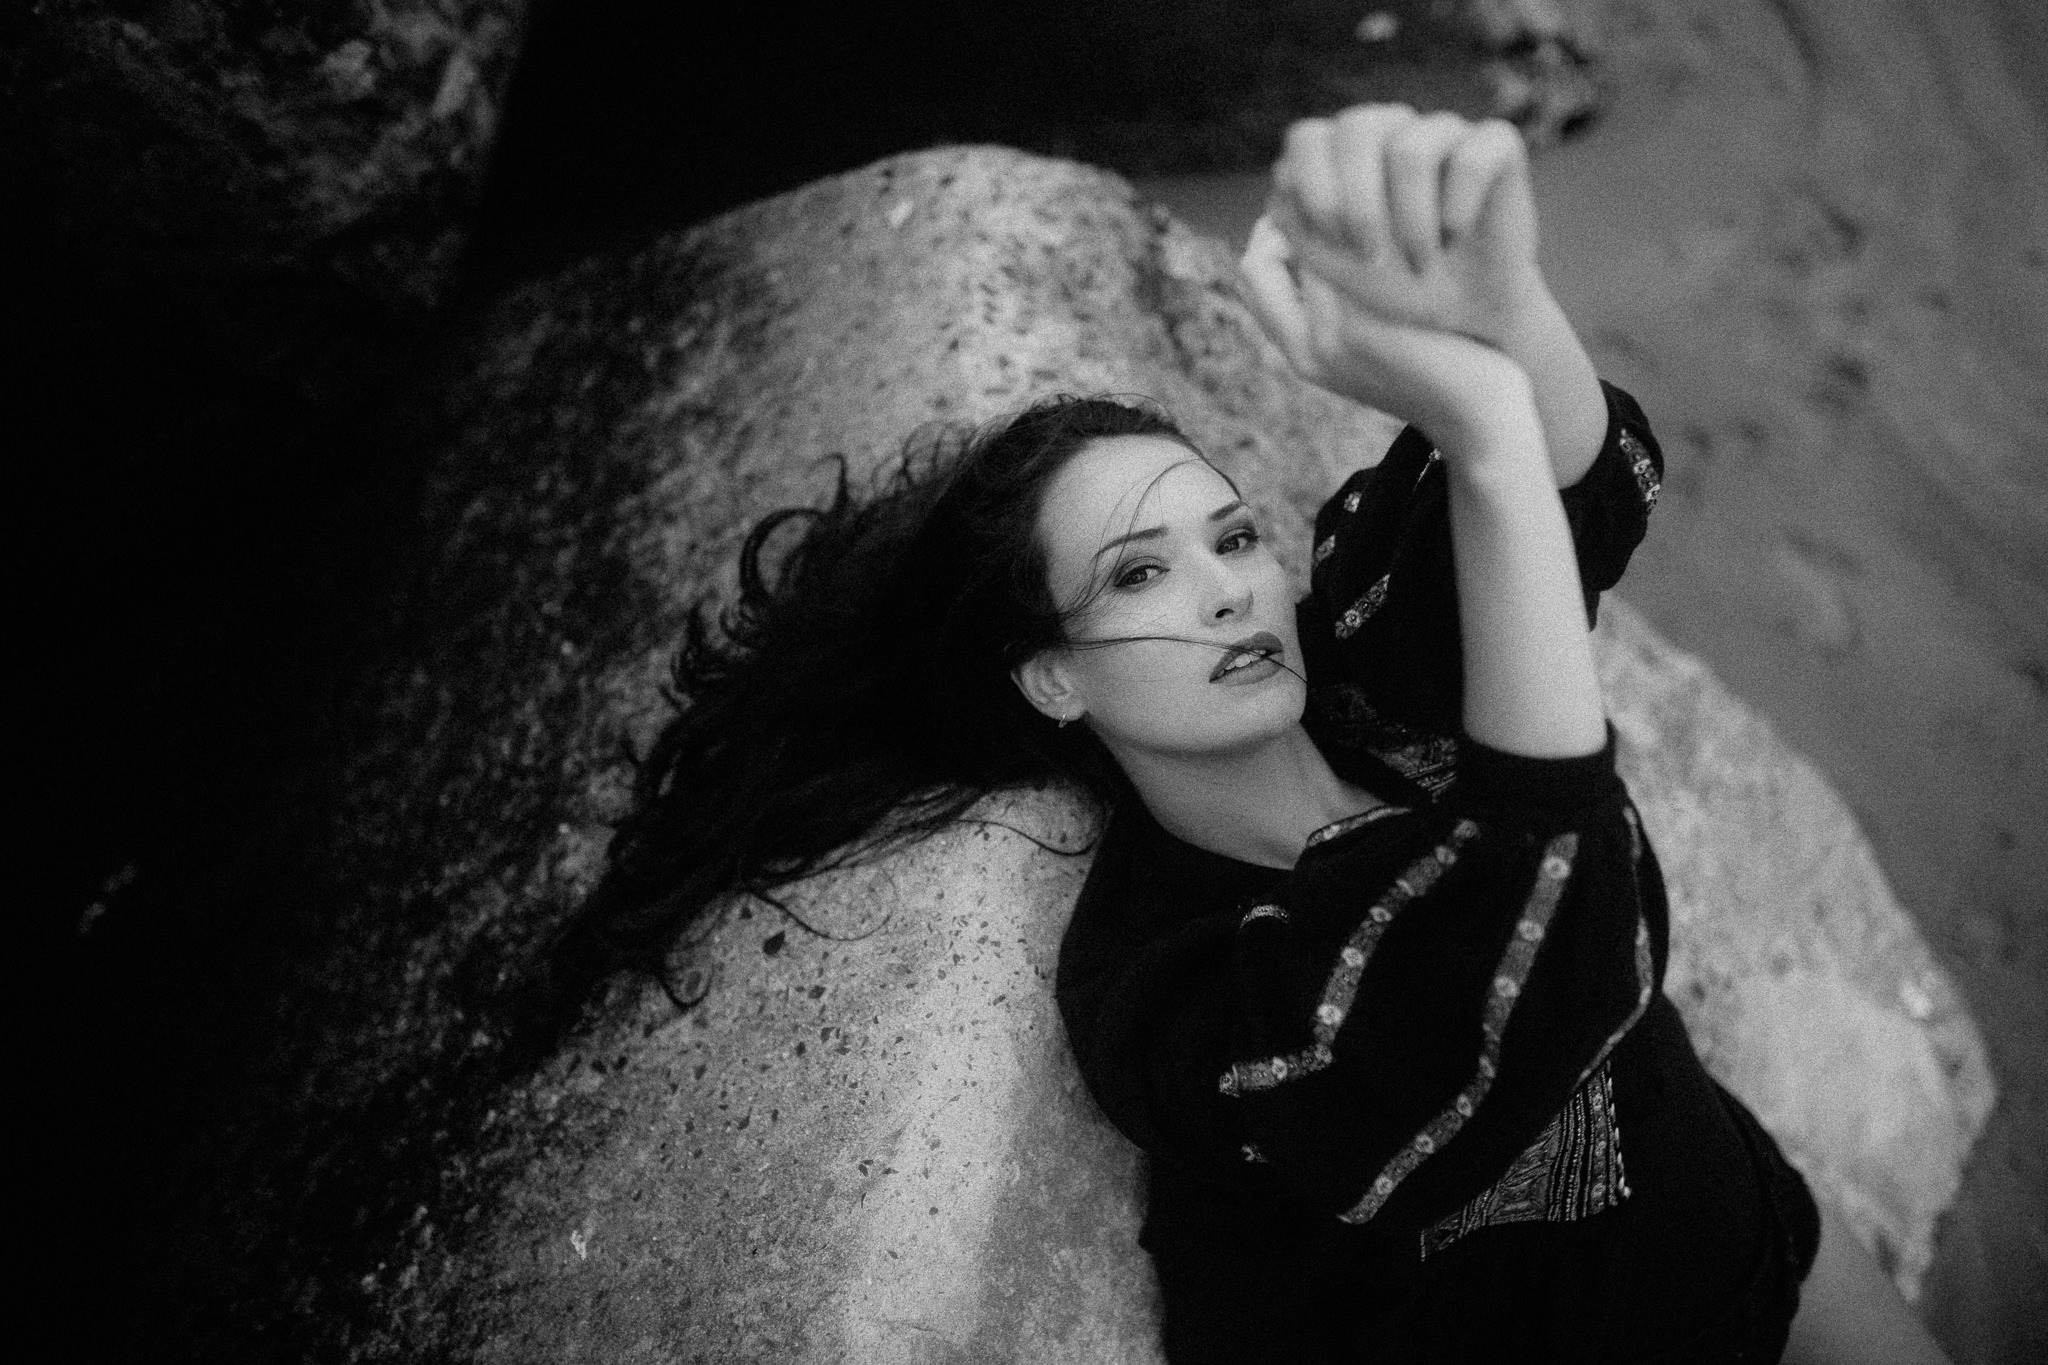
Let your subject sit or lay down.
If you can’t choose a higher point of view, you can also have your subject sit or lay down to still have more light in their face. When shooting someone who is laying down, be aware of the fact they are in a vulnerable position, and can easily feel dominated by a photographer who is standing or leaning over them. Communication is very important: always check in with them if things are OK, if they feel comfortable and relax.
Use a smaller aperture (meaning: a higher F number) to create a stronger sense of contrast.
When shooting portraits, most people prefer to blur out the background quite a bit by using wider apertures (low F number, like F1.8 for instance). I love the smooth background of a 35mm shot wide open, and I shoot mostly wide open or close to wide open myself. However, wide open apertures make the photo feel soft, whereas F numbers like F5.6 make for more detail and contrast in the subject and the background. Tip: review your photos or shoot on Live View mode to make sure during your session that the background doesn’t become distracting with a smaller aperture.
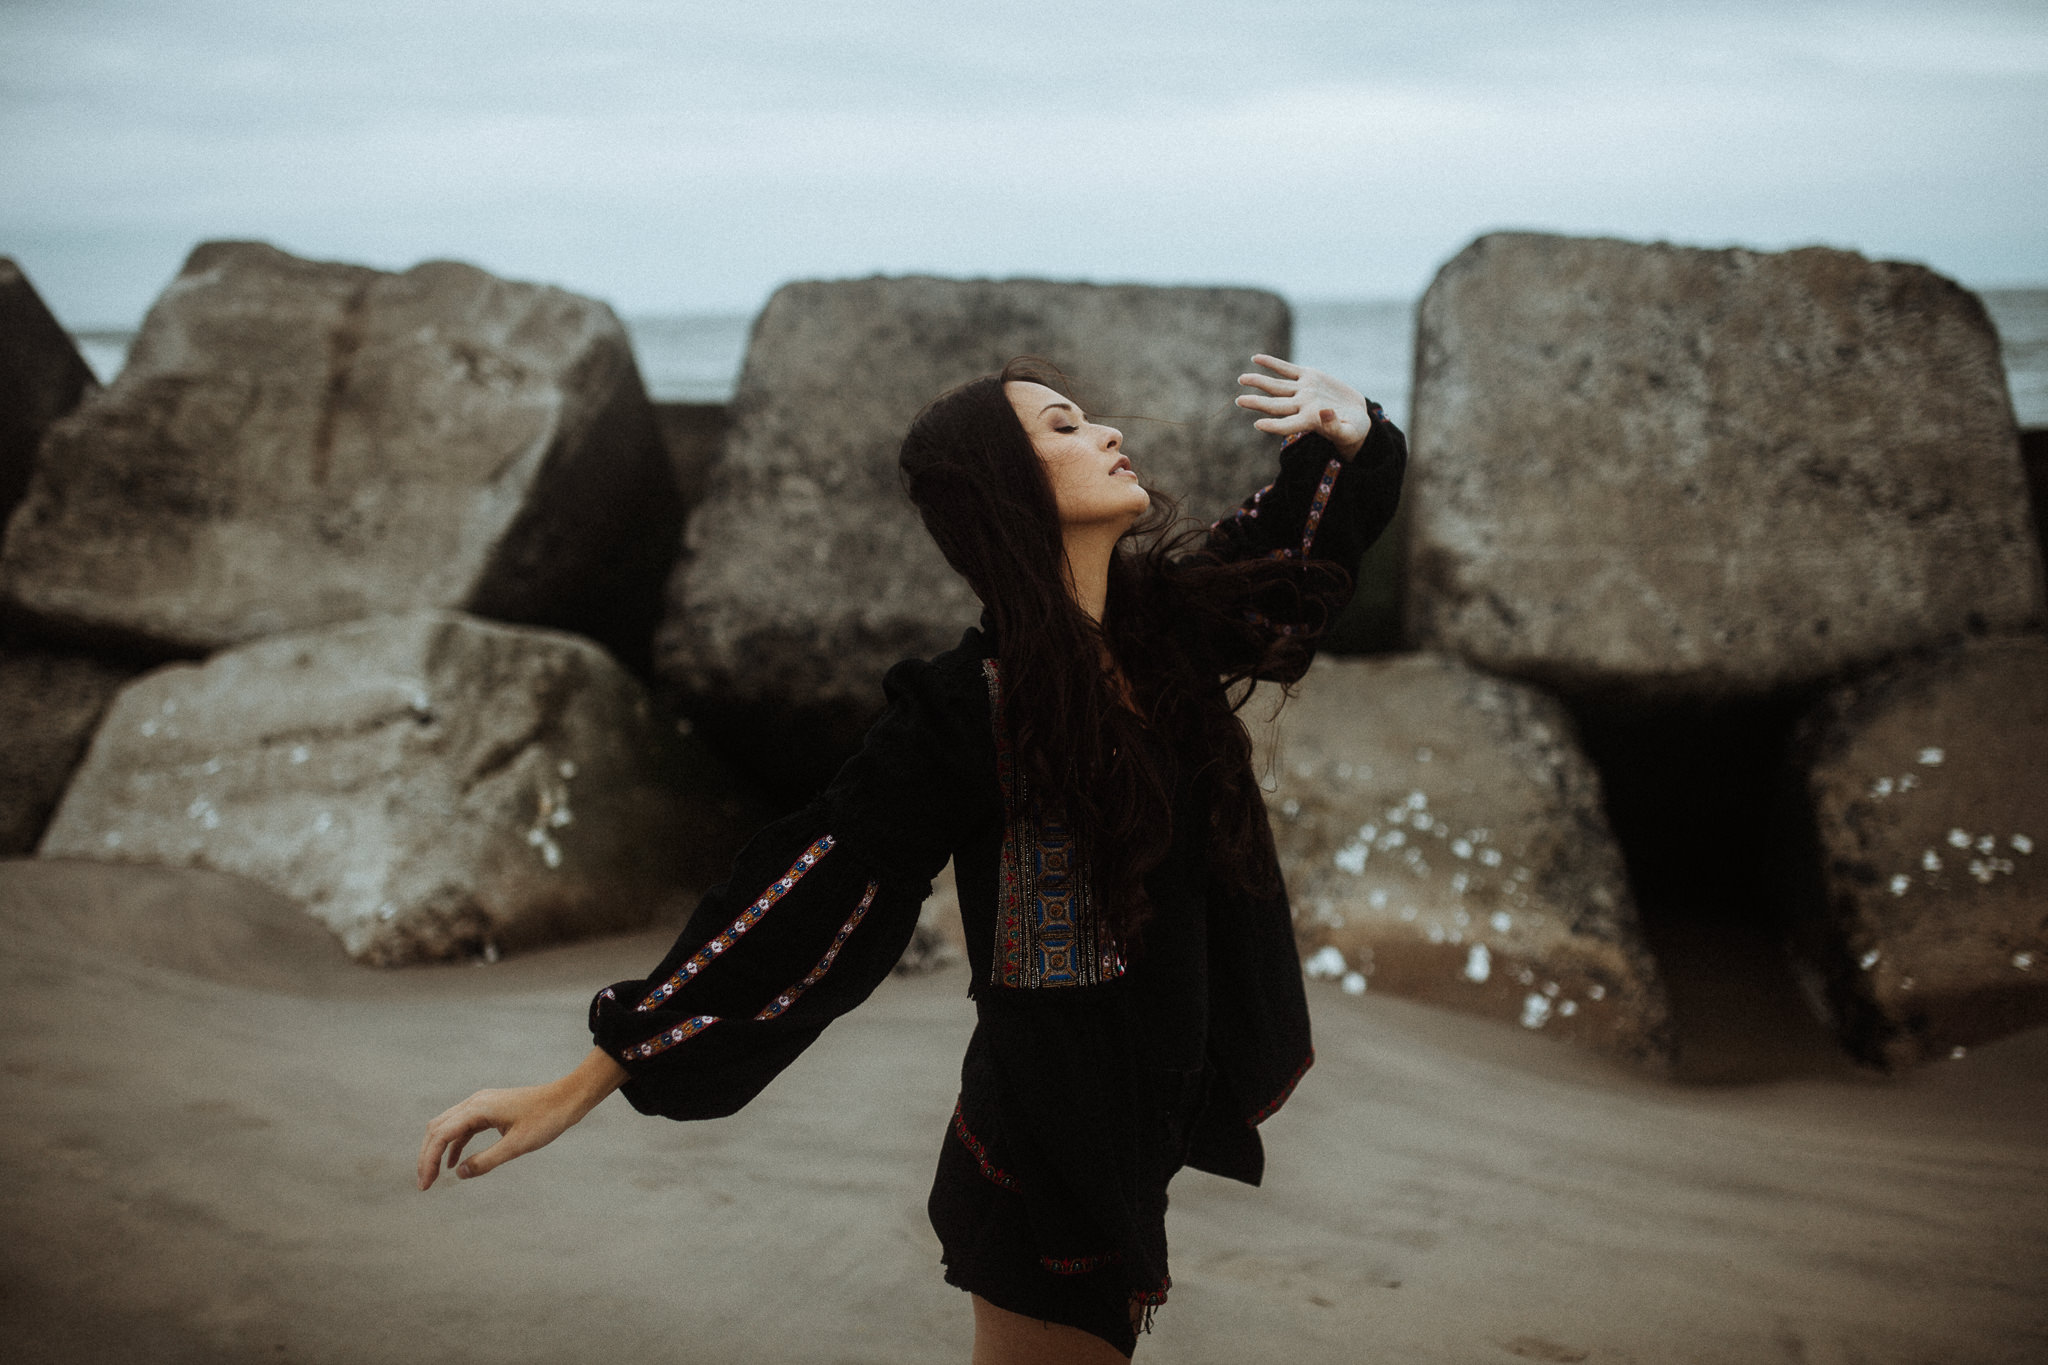
Use a longer shutter speed or exposure to create movement.
When the sky is really overcast, a lot of sunlight is blocked by and absorbed by the clouds. This allows you to use slow shutter speeds without having to carry a neutral density (ND) filter with you. ND filters block the light so your photo isn’t overexposed with the settings you have dialed in on your camera. For example, if you want to take a photo with a relatively slow shutter speed (say 1/40sec) and an aperture of F5.6, your photo will be overexposed on a sunny day, but fine on an overcast day. Longer shutter speeds usually create more dynamic photos in otherwise plain and slightly boring environments, so it’s a great way to add some more creative shots to your series.
Hopefully that helps during your next portrait session on a cloudy day! If you have any questions, feel free to let me know in the comments. I also share photography tips & tricks in my Better Together newsletter, for which you can sign up here! Enjoy!